Wednesday, March 18, 2015

My New 'Studio'


In one of my recent emails I mentioned that I've started filming video tutorials and putting them on YouTube.  (If you haven't already subscribed make certain you do!)  We filmed all of the Secret Stitching Society lessons last year and it was a huge success so I will be filming short lessons and quilting tips to share with everyone.

Anyhow, a few of you have asked what my 'studio' looks like and where it is so I figured today would be a good time to share!  My Studio is located upstairs where the Long Arm was so, grab a cup of coffee or tea and enjoy the pictures.


I've got a chair, with a Ott light to sit and do my hand stitching at.  Aren't the Ott lights wonderful?  If you don't have one it should definitely be on your Christmas list!  Hey that's an idea for Stuff My Stocking!


The Pink quilt, that's one of my designs!  What - you didn't realize that every once in a while I do get some time to design and it is really one of my favorite things to do besides handwork.....


I do enjoy handwork!  This is a pattern by Crabapple Hill Designs called Winter Sampler.  


Every Sewing room needs a few quilts!  I will be using this table for my sewing machine, it's the perfect height.


We put one of our Mannequins in there so that I have a place show off my anticipated new summer dresses!  Have you seen the new Mixologie bolts of fabric we got in?  I'm thinking many new summer dresses!


Instead of a notions wall I have a notions shelf!   Buttons, needles, thread, fat quarters and a pin cushion!  Now all I need is a little extra time so I can sit and sew.....

I hope you enjoyed the little tour of my new 'studio'!

Sue

Thursday, March 12, 2015

Our Wool Room!


I think Spring is finally going to get here, I was beginning to wonder for a while!  If you haven't stopped into the shop lately you may want to!  Once again we've been changing things up!!


Our Middle room is now completely dedicated to wool and hand work, YEA!  I'm not certain about you but I've always got to have some small hand project to keep myself busy when riding in the car or sitting on my porch.  We've been busy making up kits and have recently gotten an entire shipment of GORGEOUS hand dyed wools in stock!


We've got everything you need to get your next hand project started.  If you've never had a chance to work with wool stop by the shop on Thursday March 19th from 6:00 PM - 9:00 PM and join me for Ewes, too!  Come learn what all the wool talk is about, enjoy some time out and learn how to embellish projects to make them your very own!

Also, don't forget to check out the SILK fabric we recently got in.  It is beyond wonderful to work with and we've got some kits all ready for you!
Sue


Sunday, January 25, 2015

Pillowcases - Fast & Easy!

I spent a little time in my sewing room today! YEA!!  I had made a quilt for a baby shower but wanted to be able to deliver it in a pillowcase so today was the day to get the pillowcase done.  I love making these, they are so quick and easy!  Here’s what you need to make a single pillowcase:

Pillowcase Fabric Requirements
(Makes 1 pillowcase)
1/8 yard for piping
1/3 yard for band
7/8 yard for pillowcase body

Cutting Requirements

1 – 2” x 41” (I used a 2 ½” by width of fabric)
1 – 11” x 41” (I cut mine by WOF and then just cut off the excess)
1 – 26” x 41” (WOF)

Or you can stop into the shop and we'd be happy to show you how simple this is!  Here’s how I made them:


Cut your pieces of fabric to the correct size.  I left all of my pieces the width of the fabric and just cut the length down to the size I needed.  I also had some 2 ½” strips left from the quilt so instead of cutting that strip down or cutting a new one I used the 2 ½” strip.  You can use all the same fabrics or you can switch them up, the choice is yours!


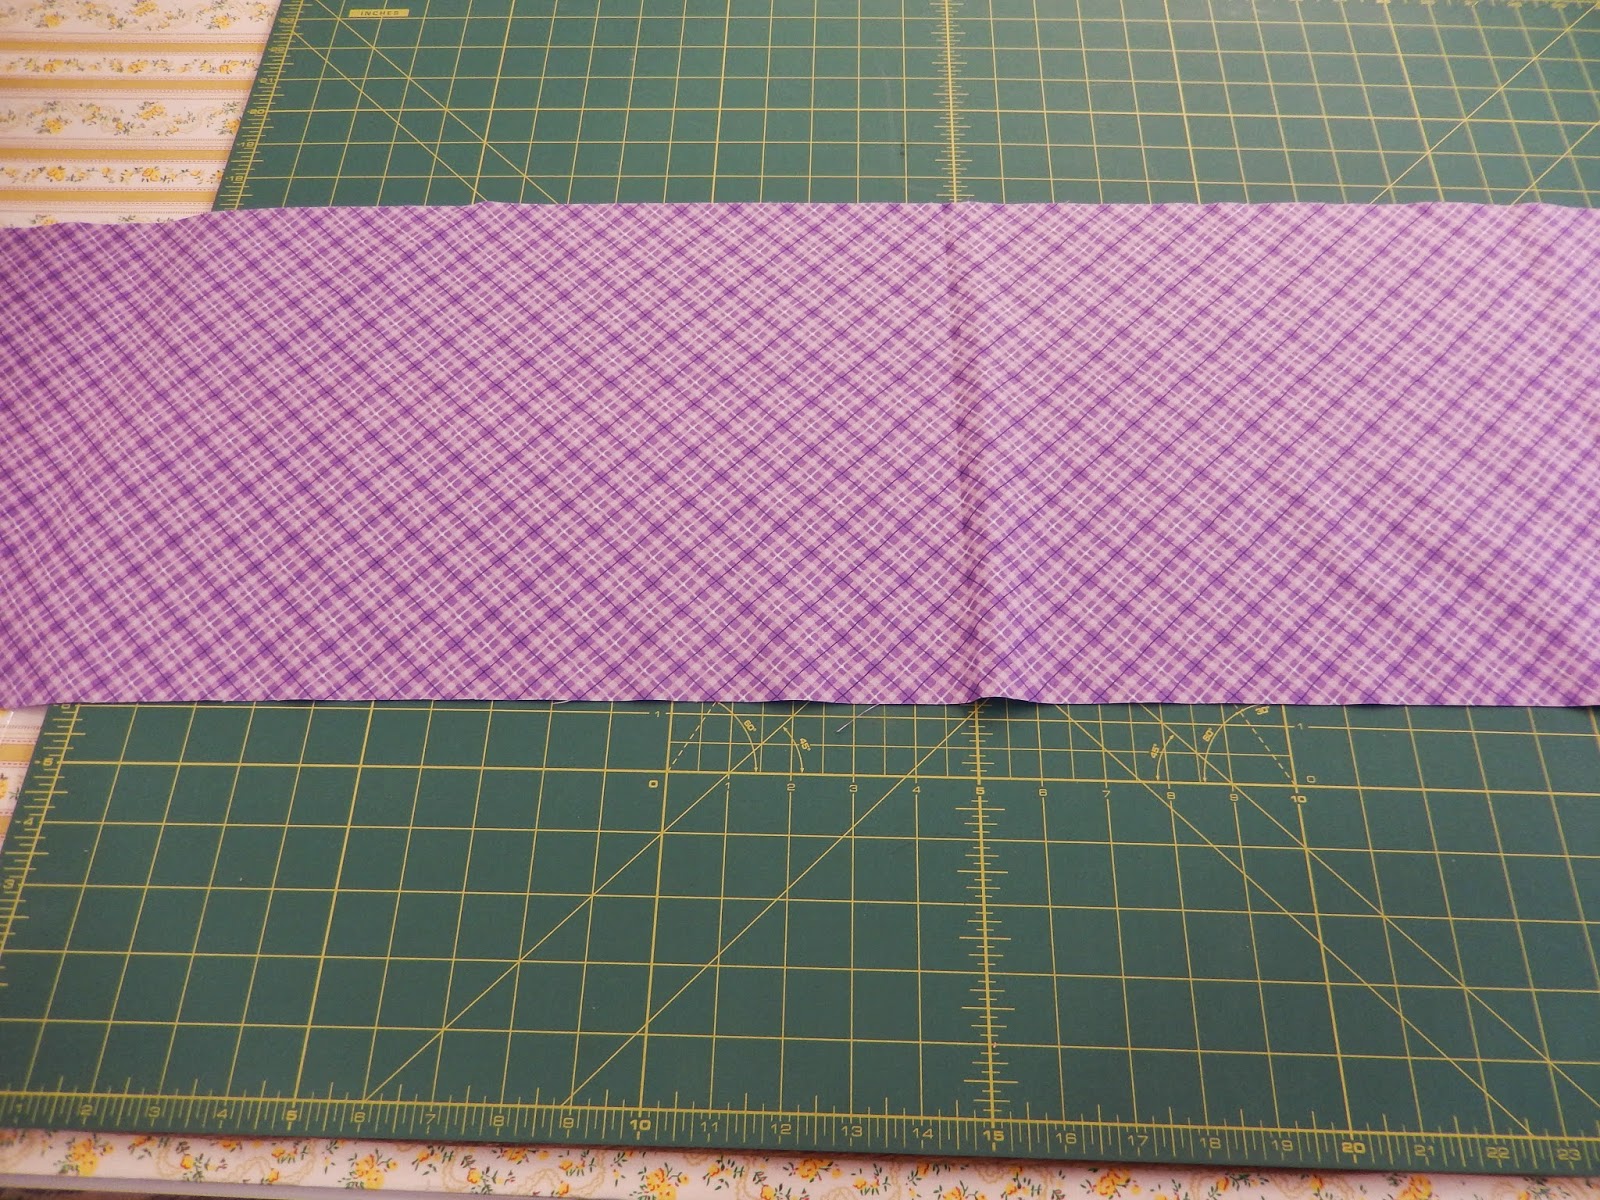
Once you’ve got all three pieces of your fabric cut take the 2 ½” strip and fold it in half wrong side together and press it. 


Next take your piece of fabric that is 11” x WOF and lay that face up on your table.


Next take your piece of fabric that is 26” x WOF and lay that face up on top of the 11” piece lining up the raw edges.


Your final piece of fabric to place on top is your 2 ½” strip that has been folded in half (remember wrong sides together just like you are making binding) and place that on top of all the pieces.   You may want to put some pins in to hold all of these pieces together.


Pick up the bottom of your 26” p  Keep rolling it until you get almost all the way to the piping strip.  Once you’ve rolled the 26” piece you can easily see your band piece of fabric.  Pick up the raw edge (at the bottom) and fold it up to meet the top of your piping strip and pin.


Now take it to the sewing machine and sew a ¼” seam.  So easy!


You’ve now got a tube that looks like this!


Reach into the sewn tube and start pulling the fabric out, you’ve got a piece of fabric that has an attached band and piping but NO raw seams!!!


Time to press!  This may be a step that you just don’t think is important but if you don’t press you run the risk of your seams not matching or of your fabric having a twist in it so take just a few minutes and press.


Next step (and one I always have to double check myself on) fold your pillowcase in half, WRONG sides together.  Yes, wrong, not right sides together. If you haven’t trimmed your selvage now’s the time to do it, just double check and make certain that you haven’t left a selvage before your proceed.  Pin and sew down one side and across the bottom with a ¼” seam.


Turn pillowcase wrong sides out, press and now sew ½” seam down one side and across the bottom!


Turn pillowcase right side out and press one last time and it’s done!


Fast and easy for sure!  Next time you purchase fabric, a jelly roll or a layer cake for a quilt don’t forget to grab a little extra fabric to make a pillowcase!

Happy Quilting!

Tuesday, January 20, 2015

Embroidery Classes at O'Susannah's

Did you know that we have an Embroidery Classes the 3rd Wednesday of every month?  Embroidery was something I learned as a pre-teen.  My sisters and I were taught by our next door neighbor, Mrs. Langworthy.  I remember a group of the neighbor girls getting together at her house and her teaching us.  We were taught the basics and to this day I can't believe how lucky we were to have someone will to spend an evening every week with a group of pre-teen girls and teach us all how to stitch.

We have 2 classes, the first one is from 1:00-4:00 PM and in this class we are working on the Home Sweet Home An Embroidered Workbox by Carolyn Pearce. 


Isn't it just darling?  Wait until you get a look at the next picture!


Each piece is tiny and because they re all so small they are really 'doable' in a short amount of time.  Some of the stitches are ones we've already learned but some of them are completely new and we are having a lot of fun learning them.


This is a picture of the back of the box!  The box is 6 5/16" x 6 1/8" x 3 7/8" finished!

Our evening class goes from 6:00-9:00 PM and in this class they are doing something completely different!  They are doing the same stitches (for the most part) as they are in the afternoon class but instead of putting them on the notions for the box we have taken Crabapple Hill Studio's pattern 


Susan's Dresden Garden

and are doing each of the embroidered 'blades' with the stitches we are learning!  Talk about fun!  The threads we are using for this are Silks, Embroidery Floss, Pearl Cotton & Wool!  

Here is the evening class learning how to color on fabric with Crayola Crayons and to Embroider!


Aren't they just so cute!!


Join us on the 3rd Wednesday of the month for Embroidery Class!

Happy Quilting!


Monday, January 19, 2015

NYC & Quilter's Take Manhattan!

Quilter’s Take Manhattan!

I was actually thinking they should have changed the name of the show from Quilter’s Take Manhattan to O’Susannah’s Takes Manhattan!  See all those people?  Well more than half of them were all from O’Susannah’s!  I took 2 buses loaded with Quilters to Manhattan and it was a blast!  


Now for the real eye candy!  The quilts!


Every type of quilt was there.  There were real modern quilts, landscape quilts and antique quilts.  Mark Dunn (Owner of Moda Fabrics) brought some quilts from his personal collection to share with us. 


And a very special quilt from his personal collection, the first quilt his son made for him!


A Jelly Roll Quilt!


Did you know that every year Moda features a reproduction quilt?  It’s called Quilts for a Cause.  Mr. Dunn brought quite a few of them, both the Antique Quilt and Moda’s modern day version of the quilt.   

Have  you seen the 2014 quilt yet?


Give us a call or send us an email, we've got the kits!  Kits normally cost $160.00, for a limited time our price is $140.00 (While supplies last)!  This quilt is honoring Libby Lehman.  


Here you can see The Antique quilt behind Mark’s son and he is holding Moda’s version of the quilt.  


Now you can see both a Antique and the reproduction next to each other.  The matching of the colors is amazing!


The following quilt (the Woman’s face) from a distance is pretty, very pretty but when you got up close to it an realized what it was, well it was simply stunning and truly pulled at your heart strings.


It was made up of thousands of pictures of women that had had Cancer.
            
And it was beautiful!


We had a wonderful time and EVERYONE was exhausted when it was time to go home!

Keep your schedule open because O'Susannah's is Taking Manhattan again in 2015!!  Quilter’s Take Manhattan is put on by the Quilt Alliance (Alliance for American Quilts).  Here is a link Quilt Alliance page where you can get more information and sign up to the eNews.  

Happy Quilting Everyone!